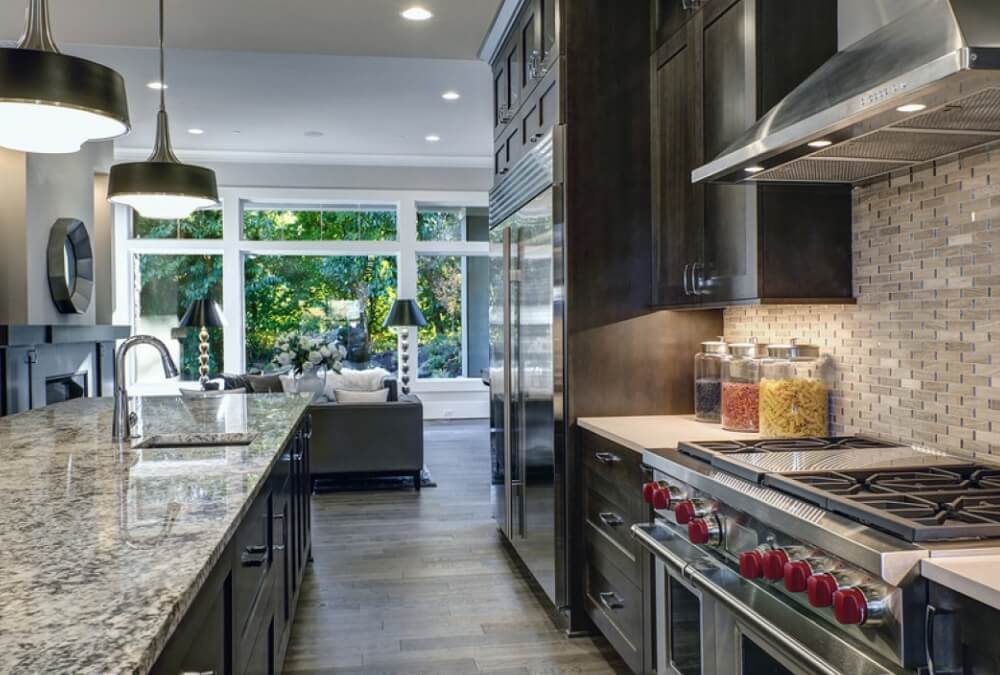
A new backsplash in your kitchen not only looks great, but it also makes your kitchen easier to clean. It can also add value to your home if you decide to sell it. This is a very cost effective project if you do it yourself.
Step By Step Instructions To Install Backsplash:
Follow these easy steps to create a kitchen backsplash in less then one weekend:
STEP 1: You will need to pick the tile that you want to use. If you use a decorative one, it will cost more. But if you get a basic one, it will be more cost effective.
STEP 2: You will need to find the center of the area you are going to tile. After you have found it, you are going to want to make a horizontal line across the area. The best way to do this is using a laser level, or a chalk line. You do not want to use your appliances as your ‘level’ because floors are not always level, and you could end up with crooked tiles. After you have made your horizontal line, you will want to recheck the line with a level to make sure it is even.
STEP 3: Starting in the middle, lay out one row and one column of tiles to see how they will fit. If you find that when you get to the end of the row, then you can adjust where you start your tiles at. If you find that no matter where you start your tiles at, you have problems fitting a whole tile there, make sure that you put the tile pieces in the corners, and along the top and bottom of the back splash.
STEP 4: Always make sure to turn off the power to any outlets you might be placing tile around. Also, make sure to remove any decorations, and place protective covering on your counter tops.
STEP 5: Starting at your center point, use a trowel to apply a thin layer of mortar to the wall. Some people like to apply a lot of mortar and apply the tiles. It’s better to apply enough for 4-6 tiles so the mortar doesn’t dry out before you can put tiles on it. When you place the tile onto the wall, do so with a slight twisting motion.
STEP 6: A lot of tiles will require plastic spacers to be spaced properly. If your tiles need the spacers, then place them on the tiles after you have placed them on the wall.
STEP 7: After you install a section of about 4 or 6 tiles take a 2×4 that has carpet on it and set it against the tiles to assure they don’t move and stay in place. For an added security, you might also want to take another 2×4 and gently tap the back of the 2×4 that has carpet on it.
STEP 8: After every row of tiles, you will want to check the row with your level to make sure the tiles are still even, and have not moved.
STEP 9: If you have the need to have tile pieces in the corners of the rows, you can easily do this with a tile saw. You can rent one at any local hardware store. (Lowe’s, Home Depot) The tile saw is very easy to use, and they make the tiles easy to break into the right size that you need them to be. As with anytime you are using power tools, and saws, please be careful, and keep your fingers clear of the blades.
STEP 10: Once the mortar is completely dried, (according to the directions) it is time to apply the grout. To apply the grout use a rubber grout float. If you get excess grout, it’s okay. Simply wipe the area clean.
After the grout is dried, wipe the tiles with any kind of window cleaner to get any leftover grout off the tiles.
STEP 11: Take your caulk and caulk around the backsplash. To smooth the bead, spray it with some window cleaner, and smooth it with your finger.

